A tiltrotator multiplies the versatility of every bucket and tool beneath it — but only if those tools are correctly matched to the tiltrotator and the job. The wrong bucket — too wide, too heavy, or with incompatible pins — can negate the tiltrotator's productivity gains, causing instability, reduced lift capacity, or poor grading accuracy. Choosing the right buckets and attachments means matching the tool to the tiltrotator's weight and torque capacity, verifying quick-coupler compatibility, and selecting the bucket type that fits the primary work. This guide covers common bucket types, how to match a bucket to a tiltrotator, pre-use checks, and why the tool interface matters.
Common Bucket Types for Tiltrotators
Tiltrotators work with a variety of bucket types, each optimized for a specific application. The most common include:
-
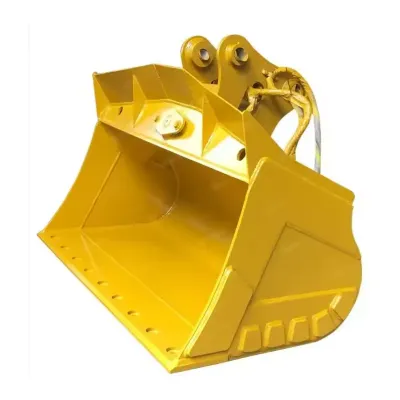
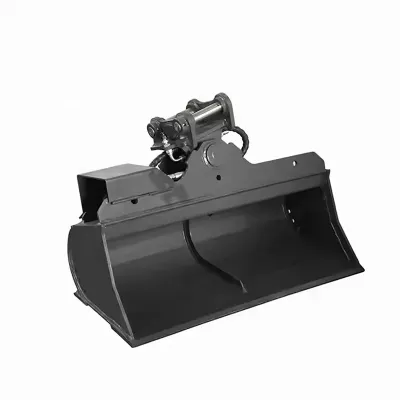
Grading buckets — wide, flat-bottom with straight cutting edges, designed for finish grading, slope shaping, and spreading. The tilt function lets the bucket match any contour, making this the most popular tiltrotator bucket type.
-
Ditch cleaning buckets — wide, shallow with a curved profile, for cleaning and reshaping ditches, channels, and swales. Rotation lets you work along the ditch without turning the machine; tilt shapes the slopes.
-
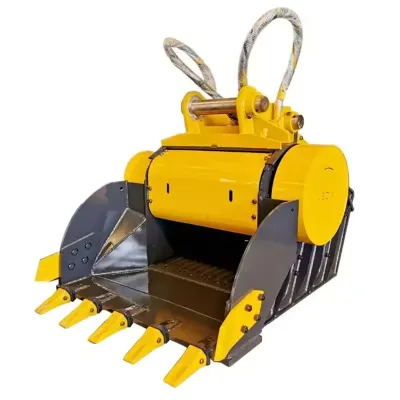
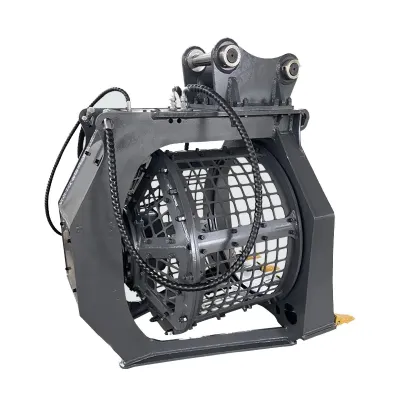
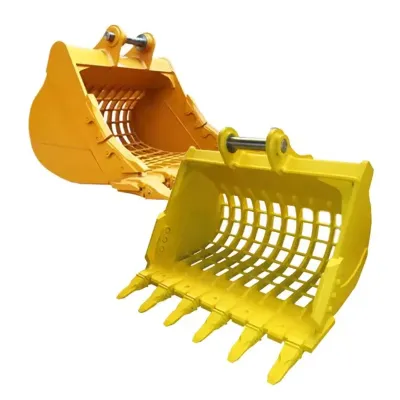
Sorting buckets — open tines or screened bottoms for separating soil from rock, concrete, and debris. Tilt and rotation help agitate material for better sifting.
-
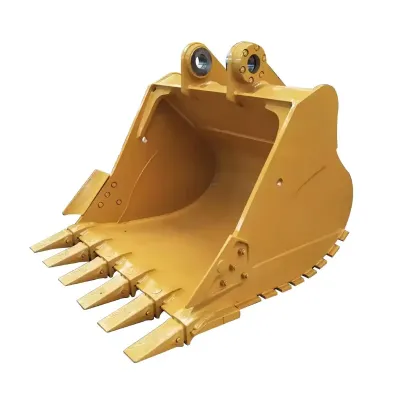
General-purpose buckets — standard digging buckets for excavation, loading, and backfilling. The tiltrotator adds angle control for precise trench work and backfill.
-
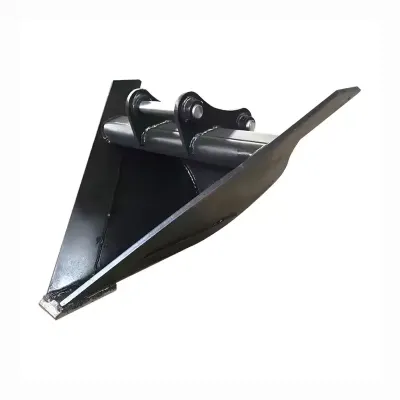
V-ditch buckets — V-shaped profile for cutting V-ditches and drainage channels. Rotation allows cutting at any angle; tilt controls depth and slope.
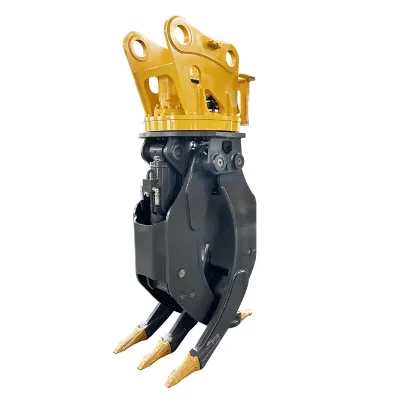
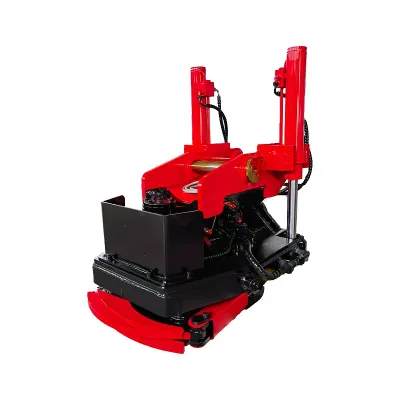
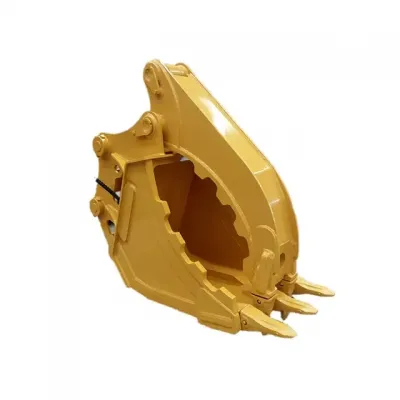
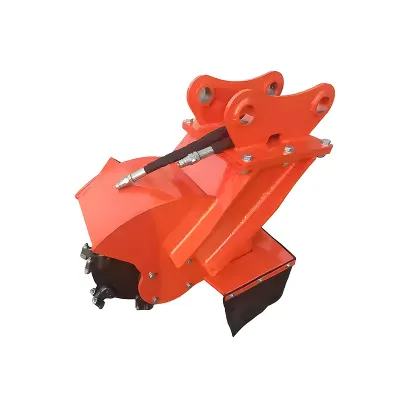
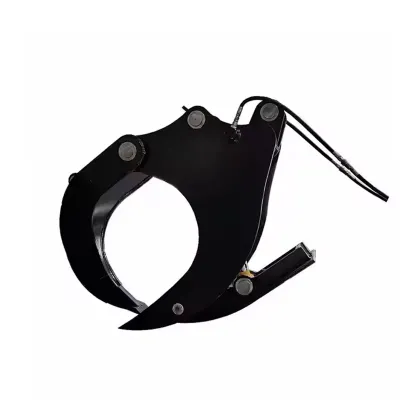
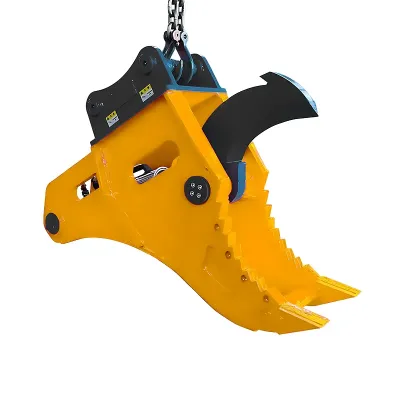
Beyond buckets, tiltrotators work with grapples (sorting, handling, demolition), compactors (trench and slope compaction), augers (drilling), hammers (breaking), and angle blades or V-plows (snow removal). The key requirement: any attachment must be compatible with the tiltrotator's bottom quick-coupler and within the carrier's weight and capacity limits. Most operators use two or three bucket types — typically a grading bucket, a ditch cleaning bucket, and a general-purpose or sorting bucket — plus any specialized tools. The excavator tiltrotator product page provides compatibility information for bucket and tool selection.
Matching a Bucket to a Tiltrotator
Matching a bucket to a tiltrotator involves four key factors: weight, width, pin dimensions, and coupler compatibility.
Weight is the most critical factor — the total weight at the arm end (tiltrotator + bucket + material) must stay within the excavator's rated lift capacity at the working radius. A bucket that's too heavy reduces lift capacity, causes instability, and can overload the tiltrotator's tilt cylinders and rotation gear. Smaller tiltrotators (TR01, TR04) need lighter buckets; larger models (TR06, TR08) can handle heavier, wider ones.
Width should match the tiltrotator model, excavator size, and application. Grading buckets are typically wider than digging buckets — the wide, flat bottom provides a larger grading surface. But a bucket that's too wide can cause instability, reduce breakout force, and make tight-space work difficult. As a rule of thumb: grading buckets for mini excavators (2–6 t) with small tiltrotators are typically 30–48 inches wide; for mid-size excavators (8–22 t) with larger tiltrotators, 48–72 inches wide. Ditch cleaning buckets are often wider than grading buckets for the same machine.
Pin dimensions and coupler compatibility — the bucket's pin diameter, pin center distance, and ear width must match the tiltrotator's bottom quick-coupler. If the bucket uses a different pin configuration, an adapter or custom bracket may be required. Always verify pin dimensions and coupler type before purchase, and ensure the coupler's locking mechanism works with the bucket's pins. If you use multiple bucket types, a universal coupler or standardized pin configuration across the fleet can simplify tool changes.
Checking a Grading Bucket Before Use
Before using a grading bucket with a tiltrotator, run through these checks to ensure safe, accurate operation:
-
Weight and width — verify the combined weight (tiltrotator + bucket + material) is within the excavator's rated lift capacity at the working radius, and the bucket width is appropriate for the tiltrotator model.
-
Pin dimensions and coupler lock — verify pin diameter, center distance, and ear width match the bottom coupler. Test the coupler lock by lifting the bucket slightly — it should be securely attached before work begins.
-
Cutting edge — inspect for wear, damage, and proper installation. A worn or damaged edge reduces grading accuracy; replace if worn beyond spec.
-
Bucket straightness — check that the bucket is level and true. A bent or twisted bucket will produce uneven grades regardless of tiltrotator accuracy. Check the bottom for flatness and side plates for parallelism.
-
Tilt and rotation function — test the tiltrotator's tilt (±45°) and rotation (360°) with the bucket attached. Verify smooth operation without binding, unusual noise, or hydraulic leaks.
-
Clearance — verify the bucket, tiltrotator, and hoses clear the excavator's tracks, blade, cab, and counterweight through the full range of arm motion, tilt, and rotation.
-
Angle display calibration — if equipped with a digital angle display, calibrate it with the bucket attached so it shows zero when the bucket is level.
For precision grading, verify the bucket's level with a spirit level or laser level before starting, and recalibrate the display if there's a discrepancy. A tiltrotator compatibility guide provides more detail on matching buckets and tools to specific tiltrotator and excavator configurations.
Using Different Attachment Types with the Same Tiltrotator
One of the tiltrotator's key advantages is its ability to work with a wide range of attachments — buckets, grapples, compactors, augers, hammers, and blades — without modifying the tiltrotator itself. The bottom quick-coupler lets operators switch between attachments in seconds (hydraulic coupler) or minutes (manual coupler), making the tiltrotator a highly versatile tool carrier. However, several considerations apply:
-
Hydraulic requirements — hydraulic attachments (grapples, augers, hammers, compactors) need an auxiliary circuit that passes through the tiltrotator (often called a "third function" or "rotating circuit"). If the tiltrotator doesn't have this feature, hydraulic attachments may not be usable beneath it.
-
Weight and capacity — each attachment has different weight and operating force characteristics. Verify each attachment is within the tiltrotator and excavator's limits, and avoid attachments that generate side loads or pull forces beyond the tiltrotator's rated capacity.
-
Operating technique — different attachments need different techniques. A grading bucket uses smooth, controlled tilt and rotation for finish work; a grapple uses rotation for sorting; a compactor uses vibration and controlled tilt for slope compaction. Adjust control sensitivity (if equipped) for the specific attachment.
-
Coupler verification — when switching attachments, always verify the coupler lock is fully engaged, test the attachment's function before work, and recalibrate the angle display (if equipped) for the new attachment.
With proper selection, verification, and operation, a single tiltrotator can handle virtually any excavator task with greater precision and efficiency than a standard coupler.
Why the Tool Interface Matters
The tool interface — the quick-coupler connecting the tiltrotator to the bucket or attachment — is one of the most important and often overlooked factors in tiltrotator performance and safety. A compatible, well-functioning coupler ensures attachments are securely attached, correctly aligned, and quickly interchangeable. An incompatible or poorly functioning coupler can cause:
-
Attachment release — a serious safety hazard if the bucket or tool detaches during operation.
-
Misalignment — play or incorrect alignment reduces grading accuracy, causes uneven wear, and can lead to premature component failure.
-
Slow tool changes — difficult or unreliable coupling negates the tiltrotator's productivity advantage.
-
Limited compatibility — a coupler that only works with specific pin configurations limits the tiltrotator's versatility.
Common coupler types include pin-grabber (versatile, works with standard pin-on buckets, but may have more play), wedge-lock (secure lock with minimal play, but may require specific pin configurations), and dedicated system couplers (fastest, most secure connection, but require attachments to have a specific interface). When selecting a tiltrotator and tool interface, consider the attachments already in your fleet — a large inventory of standard pin-on buckets favors a pin-grabber coupler; a new or standardized fleet may benefit from a dedicated system coupler. Regardless of type, always verify coupler compatibility with each attachment's pin dimensions, inspect and maintain the coupler regularly, and test the lock before every use. Investing in a high-quality, compatible coupler and ensuring proper operation is essential for safe, productive tiltrotator use — the tool interface is the critical link between the tiltrotator and the work.