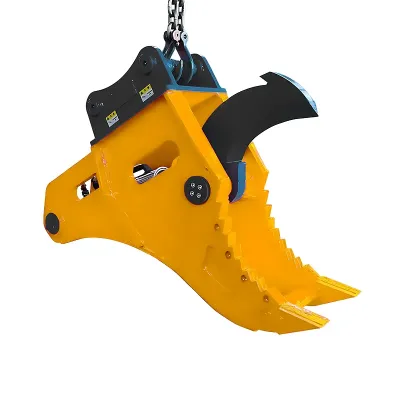
At first glance, an excavator ripper doesn't look like much — just a steel shank with a pointy tooth on the end. But the way it harnesses the machine's hydraulic force makes it one of the most effective ground-breaking tools you can put on a job site. Unlike a breaker that pounds away with impacts, the ripper uses the excavator's arm curl and boom lift to peel and shear material loose in a steady, continuous motion. That basic principle determines everything: what the ripper can break, when it outperforms other tools, and where it's not the right choice.
The Ripping Motion
The ripper has no moving parts of its own — no motor, no cylinder, no seals to blow. It pins to the excavator arm, and the operator runs it entirely through the boom and arm controls. A typical pass starts with the tooth positioned at the edge of the work area. The operator drops the boom to drive the tooth into the ground, then curls the arm inward, dragging the tooth through the material in a peeling arc. As the tooth moves, it shears the ground ahead, breaking it into chunks that a bucket can then scoop up.
The muscle behind that motion comes from two places: the arm curl cylinder provides the horizontal peeling force, and the boom downforce drives the tooth into the ground. Put them together, focus that energy through a single sharp point, and you've got enough concentrated pressure to crack ground that would stop a bucket cold. The operator controls the angle of attack by adjusting boom height and arm position, and can rip in either direction depending on how the site is laid out.
Ripper vs. Hydraulic Breaker
Both rippers and breakers are built for tough ground, but they couldn't be more different in how they work. A breaker uses a percussion piston to deliver rapid-fire impact blows — it fractures material through shock. A ripper applies steady shear and peel force, breaking material along its natural weak planes. That difference drives everything else.
Breakers shine in hard, intact rock where a ripper can't get a bite — granite, basalt, massive concrete slabs. Their impact energy can shatter material that's too tough for shear. But breakers are loud, they shake the machine hard, they gulp hydraulic power, and they eat wear parts (chisels, bushings, seals, accumulators) on a regular basis. Rippers are quiet, smooth, dead-simple (zero moving parts), and faster for continuous work in material they can actually penetrate — frozen soil, hard clay, hardpan, weathered rock, asphalt. The decision comes down to hardness: if the tooth sinks in, the ripper is usually cheaper and quicker to run. If the tooth bounces off, you need a breaker.
What the Ripper Can Break
The ripper handles everything that falls between "a bucket will cut it" and "you need explosives." Frozen ground is textbook — the ripper slices through frost layers that would stall a bucket. Hard clay, hardpan, and caliche get peeled apart, making follow-up digging much faster. Weathered rock — shale, sandstone, decomposed granite, soft limestone — fractures along bedding planes when the tooth follows the grain. Asphalt and old road base get ripped up for recycling. Compacted fill and demolition rubble can also be loosened with a ripper.
What it won't break: hard, intact rock like granite, basalt, or quartzite. In those, the tooth bounces without penetrating, and forcing it can damage the tooth, adapter, or even the excavator arm. It's also not the right tool for soft, loose soil where a bucket is simply faster. The key is matching the ripper and tooth to the material — a big excavator with a D11 rock tooth can handle much tougher stuff than a mini with a J-series tooth. Not sure? Take a shallow test pass. If the tooth penetrates and peels, you're good. If it bounces, grab the breaker or call the drill crew.
Ground Conditions and Ripping Technique
Technique changes with the ground. In frozen ground, start shallow to break the surface crust, then go deeper on subsequent passes. A sharp tooth is non-negotiable — a dull one will just skate. In hard clay and hardpan, a continuous peeling motion along the surface works best, running parallel passes close enough to overlap. In weathered rock, find the bedding planes and rip with the grain — going across the grain is harder and makes the tooth bounce. If you see visible fractures, set the tooth right on the crack to exploit the weakness.
For stumps, work the tooth alongside the root ball and use arm curl to work the roots loose, circling the stump until it's free. For big roots, drive the tooth alongside and curl to lift and snap them. When trenching, pre-rip the line ahead of the bucket — it loosens the ground so the bucket cuts faster with less wear. How deep you go on each pass depends on the material and the machine; softer ground allows deeper passes, while hard stuff may need several shallow passes. And always stay within the tooth's designed penetration depth — overworking the shank is a fast way to crack it.