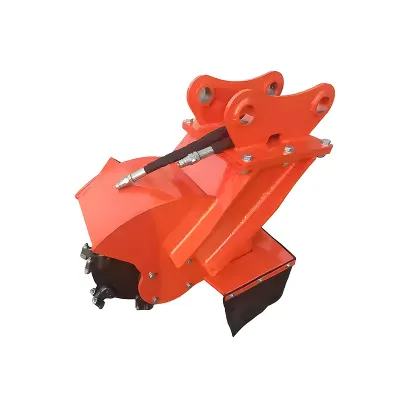
Picking the right excavator bucket is one of the bigger decisions you'll make as a contractor or equipment owner, because that bucket has a direct hand in your productivity, your operating costs, and the quality of the work you turn out. Go too small, and you're leaving production on the table. Go too big, and you risk damaging the machine or making it unstable. Pick the wrong style for your material, and you'll burn through wear parts and fight poor performance. With all the options out there—general purpose, tilt, screening, crusher, and everything in between—you need a systematic way to choose. This guide walks you through it, step by step.
Step 1: Identify Your Primary Application
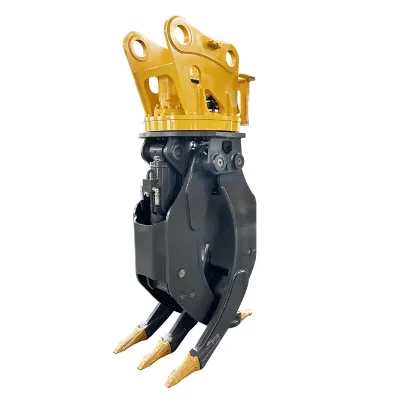
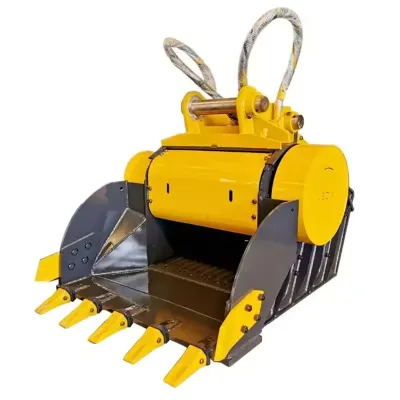
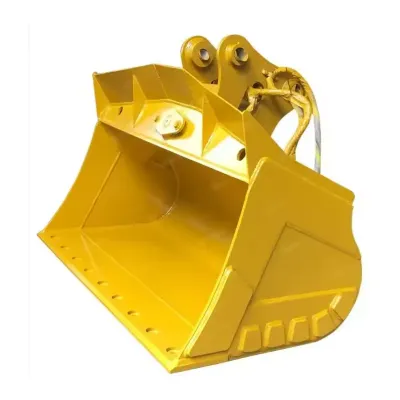
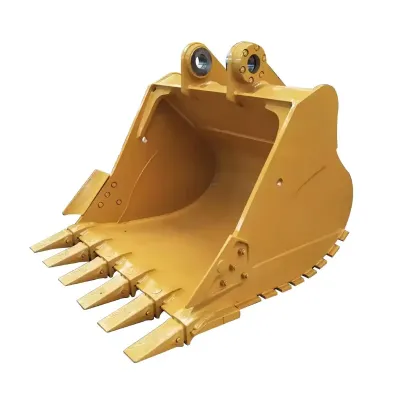
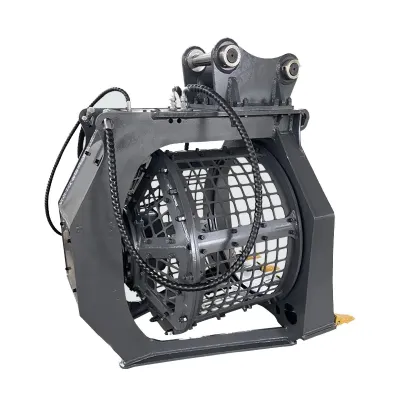
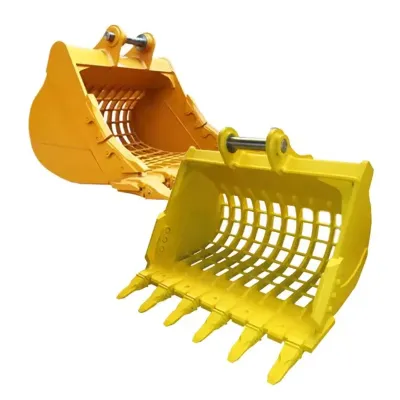
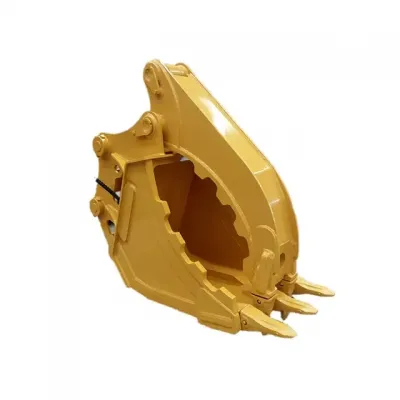
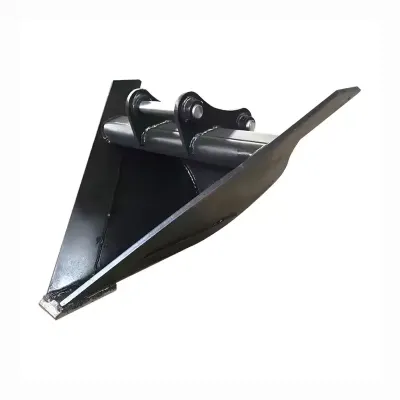
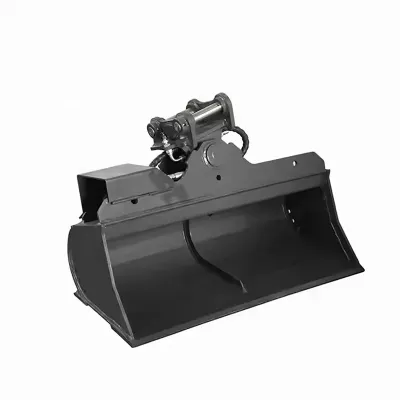
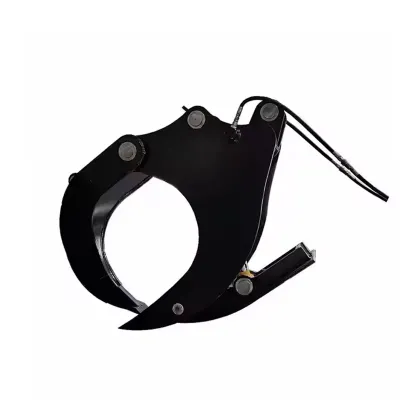
Start by figuring out what you'll be doing most of the time. Different jobs call for completely different bucket designs, and using the wrong one will give you lousy performance and rapid wear. General excavation in normal soil? That's a standard digging bucket. Slope finishing and contour work? You need a tilt bucket or grading bucket. Rock excavation and quarry work? That's heavy-duty rock bucket territory. Material separation? Look at skeleton buckets or rotary screening buckets. For demolition and handling irregular loads, a grapple bucket or bucket with thumb gives you the clamping power you need.
Be realistic about how much time you spend in each application. If 80% of your work is general excavation and only 20% is rock, a general purpose bucket is probably your best bet—you can always rent a rock bucket for the occasional tough job. But if you spend half your time or more in a specialized role like grading, screening, or crushing, investing in a dedicated bucket for that work will boost productivity and save wear on your everyday bucket. A lot of contractors find that owning two or three buckets for different jobs is the most efficient setup, swapping them out as the work changes.
Step 2: Match the Bucket to Your Excavator Size
Once you know what type of bucket you need, the next move is to size it to your excavator's operating weight and hydraulic capacity. Every machine has rated lift capacity and breakout force that set the limits for what it can handle at the bucket, and the bucket itself plus the load has to stay within those numbers. A bucket that's too big for the machine will hurt stability, slow down your cycles, and can damage the boom, stick, and cylinders. A bucket that's too small leaves capacity unused and forces you to run more cycles to move the same amount of material.
Start with your excavator operator manual—it usually has a recommended bucket size range for your machine. As a rough guideline, 1 to 3 ton mini excavators typically run buckets from 300 to 600 mm wide; 4 to 8 ton machines use 450 to 900 mm; 9 to 15 ton machines use 600 to 1200 mm; 16 to 25 ton machines use 900 to 1500 mm; and 26 to 40 ton machines use 1200 to 1800 mm or wider. These are general ranges for standard digging buckets. Specialty buckets like grading buckets may be a lot wider, while rock buckets may be narrower because of their heavier build. Always double-check the specific bucket weight and capacity against your lift chart at the reach you'll actually be working at, not just the machine's maximum rating.
Step 3: Consider the Material You Will Be Digging
The material you work in is a huge factor in bucket selection because it drives wear life and digging performance. Normal soil—loam, clay, sand—is relatively easy to dig and causes moderate wear, so a standard general purpose bucket is fine. Hard material like rock, hardpan, and compacted gravel needs a heavier, reinforced bucket with a hardened cutting edge to handle impact and abrasion. Abrasive material like sand, gravel, and crushed rock chews through cutting edges, side plates, and bucket bottoms, so you may want a bucket with abrasion-resistant steel and extra wear protection.
Think about not just the average conditions but the worst you're likely to hit. If you only see rock once in a while on otherwise normal jobs, a standard bucket with a hardened edge might be enough. If you're regularly working in abrasive gravel or demolition debris, investing in a rock bucket or one with abrasion-resistant steel will cut down on replacements and lower your total cost of ownership. For damp or clay-rich material, consider whether you need a screening bucket or other specialty attachment, because standard buckets can get clogged up with sticky material.
Step 4: Evaluate Mounting and Coupler Compatibility
The bucket has to physically fit your machine, which means the mounting bracket has to match your pin spacing, pin diameter, and linkage geometry. Different excavator brands use different pin dimensions even in the same weight class, so a bucket built for one brand won't fit another without a custom bracket. When you order a bucket, always give the excavator make, model, year, and operating weight, along with the pin-to-pin spacing, pin diameter, and stick width. If you use a quick coupler, include the coupler brand and model too, because the coupler interface may have different dimensions than direct pin-on mounting.
Most bucket manufacturers offer custom brackets for specific excavator models, and that's usually included in the price for standard machines. Non-standard or older excavators might need extra measurement and engineering, which can affect lead time and cost. If you plan to use the same bucket on multiple machines, check that all of them have compatible pin dimensions, or consider a quick coupler system that lets you share buckets across machines with different mounting specs. Always make sure the bracket is properly engineered for your machine—a bad fit can cause binding, accelerate wear, and create safety issues.
Step 5: Check Hydraulic Requirements for Powered Buckets
If you're looking at a powered bucket—tilt bucket, grapple bucket, bucket with thumb, rotary screening bucket, or crusher bucket—you need to verify that your excavator has the right auxiliary hydraulic circuit. These attachments use hydraulic cylinders or motors that require a double-acting auxiliary circuit with a third-function control valve to operate. The circuit has to deliver enough flow and pressure to hit the attachment's rated performance, and the control valve has to be accessible from the cab, usually via a thumb switch on the joystick or a foot pedal.
Flow requirements vary a lot by attachment type and size. Compact tilt buckets and thumb buckets might only need 20 to 40 L/min, while mid-size and large units may need 40 to 100 L/min or more. Rotary screening buckets typically need 18 to 100 L/min depending on size, and crusher buckets may require 130 to 180 L/min with a case drain line for the motor. If your machine doesn't have the needed auxiliary hydraulics, an aftermarket installation might be possible, but that adds cost and may require hydraulic system modifications. Always check the attachment specs for flow, pressure, and case drain requirements before buying a powered bucket, and confirm that your machine can meet them.
Step 6: Factor in Cost and Total Cost of Ownership
Bucket selection should be about total cost of ownership, not just the sticker price. A cheap bucket that wears out fast or needs constant repairs can end up costing more over time than a better-built bucket that lasts longer and needs less maintenance. Think about the expected service life in your material conditions, the cost of wear parts like cutting edges and side cutters, the downtime cost for repairs and replacements, and the productivity hit of using the wrong bucket for the job.
For general purpose buckets in normal soil, a mid-range bucket from a reputable manufacturer usually gives you the best balance of cost and durability. For rock buckets and other heavy-duty attachments, the extra money for higher-quality abrasion-resistant steel and reinforced construction is usually worth it for the extended service life. For specialty buckets like screening and crusher buckets, the upfront cost is higher, but the productivity gains and material processing capabilities can generate enough revenue to justify the investment. When you're comparing quotes from different suppliers, make sure you're comparing apples to apples—steel grade, cutting edge type, wear protection, and whether the mounting bracket is included.
Step 7: Make Your Selection
After working through the steps above, you should have a clear picture of the bucket type, size, material grade, and mounting configuration that fits your excavator and your work. Write up a summary of your requirements—excavator make and model, operating weight, pin dimensions, coupler type, auxiliary hydraulic specs, primary application, material conditions, required bucket width, and any special features. Use that summary to get quotes from bucket manufacturers or dealers, and compare the specs and pricing carefully.
When you're evaluating quotes, look beyond the price to build quality, the manufacturer's reputation, parts availability, and warranty terms. A bucket is a long-term investment, and a well-built bucket from a solid supplier will pay off in productivity, durability, and resale value. If you're not sure about any part of the selection, talk to the manufacturer's technical team or an experienced equipment dealer who can help you match the bucket to your specific needs. TGEC offers a full range of excavator buckets from general purpose and rock buckets to tilt, screening, and crusher attachments, with custom mounting brackets for specific excavator models and technical support to help you pick the right one for your operation.